Overview
In this project, we implement portions of an image rasterizer. Several techniques and concepts are used: sampling, anti-aliasing, barycentric coordinates, and texture mapping. Some parallels can readily be drawn to the animation pipeline used in software such as Autodesk Maya. For example, the rendering code likely is a rasterization of the frame that the camera currently captures, and rendering also includes some form of anti-aliasing if specified to do so. UV mapping models definitely is a form of texture mapping, in addition to other portions such as environment lighting.
Section I: Rasterization
Part 1: Rasterizing single-color triangles
The process of rasterizing triangles consists of using an input triangle to generate framebuffer pixel values. Initially, we use a dot product test to determine if a point falls within the input triangle. We check the dot product of a vector from the origin to the point and a vector formed from each side. If all results are non-negative, then we know the pixel center is within the bounding triangle and so we assign that pixel the color. This algorithm checks each pixel within the bounding box of the triangle, as it ranges over the minimum and maximum x and y values of the three corner points.
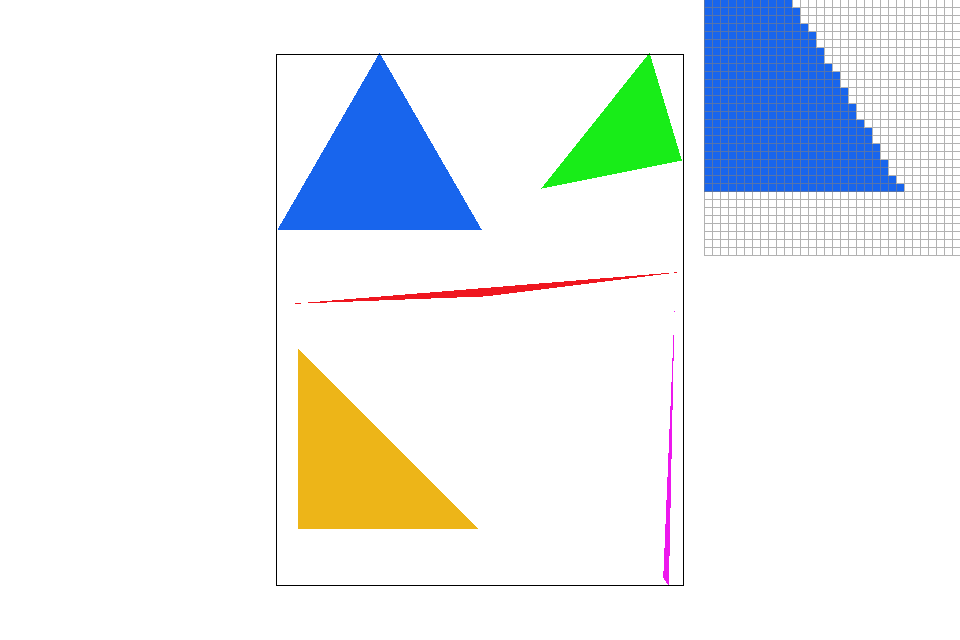
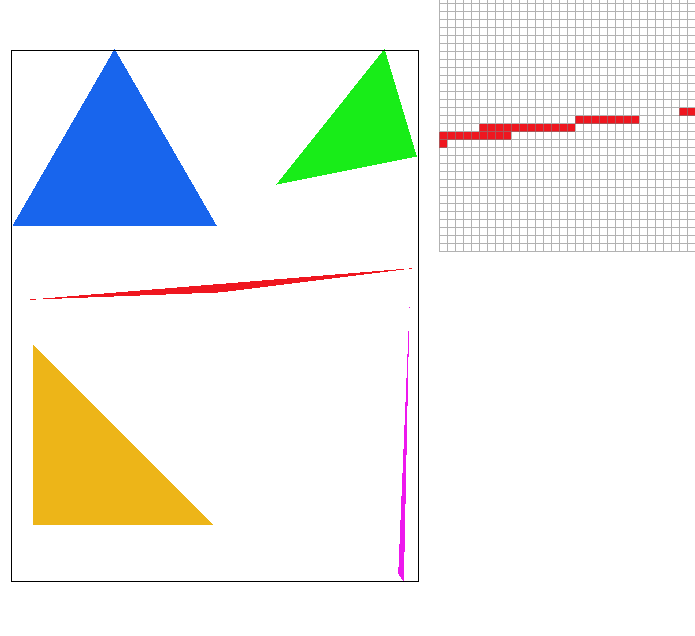
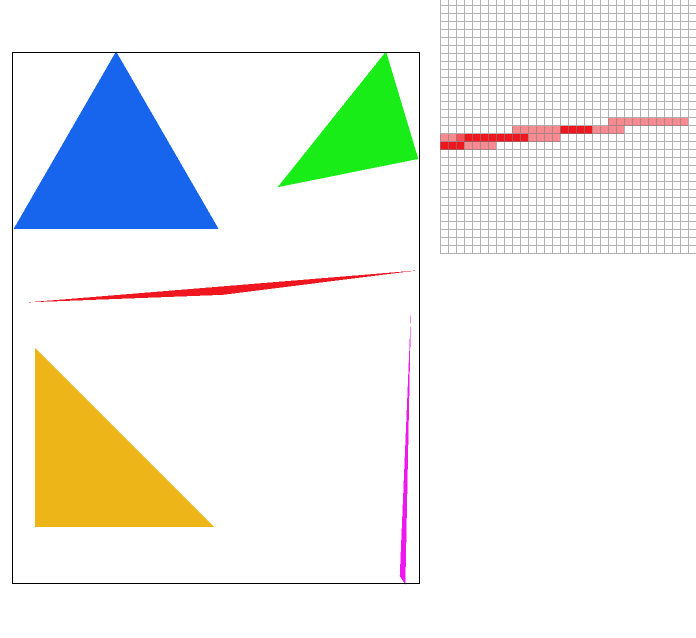
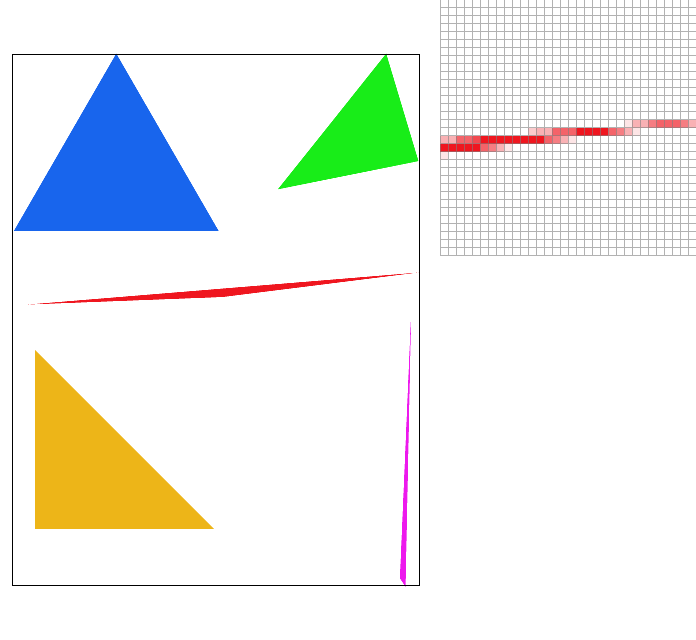
Part 2: Antialiasing triangles
Supersampling is a visual improvement upon the rasterization strategy mentioned above. Instead of only considering the center of a pixel, we treat each block as a having n sub-blocks, each of which will be sampled and assigned a color value. After sampling each sub-pixel, the final pixel color becomes the average of its sub-pixels. As a result of this method, especially around edges some pixels will have a lighter color, creating a blurring effect on the image. Looking at the red triangle's left corner in the pictures below, you can see the amount of jaggies in its edges drop dramatically as the sampling rate increases.
|
|
|
Part 3: Transforms
Using matrices, we can perform basic transformations such as translation, rotation, and scaling. An interesting thing to note is the use of homogenous coordinates, in which an extra dimension is added in order to facilitate translation. This way, translation can be treated as another matrix multiplication rather than requiring adding another matrix to the current point or vector
Section II: Sampling
Part 4: Barycentric coordinates
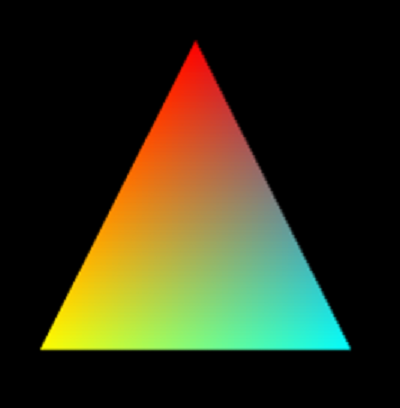
A different way to describe points in terms of a triangle is barycentric coordinates. Each point can be defined as an (alpha, beta, gamma) in relation to the the 3 vertices of a triangle, where alpha, beta, and gamma give how far away the point is from point A, B, and C, respectively. To better illustrate this, consider the gradient in the triangle below. You can think of each vertex as holding a color for it's value, and at each point within the triangle, it's own color consists of a weighted average of all three vertexes. That is, alpha is the weight for vertex A, beta for B, and gamma for C. As such, the colors towards the corners of the triangle will be the deepest / purest because the weighting on the vertex nearest them is greatest while towards the center, you will have a mixing of all three colors.
|
|
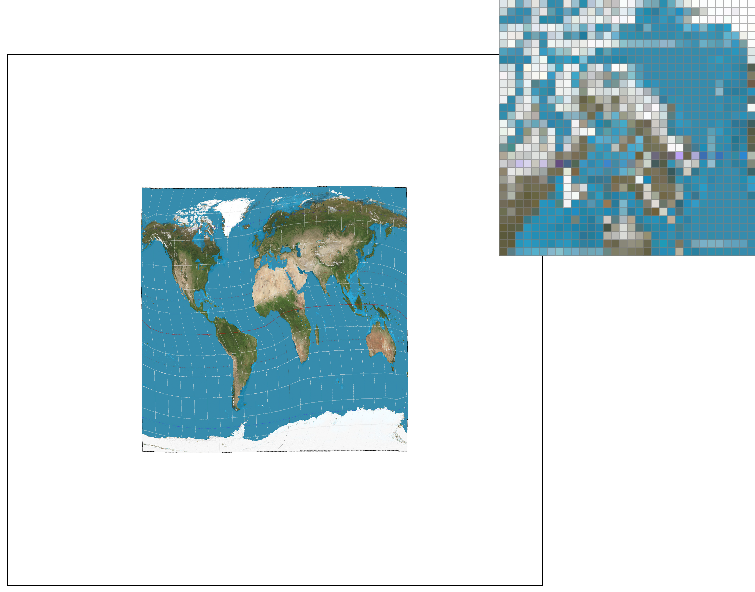
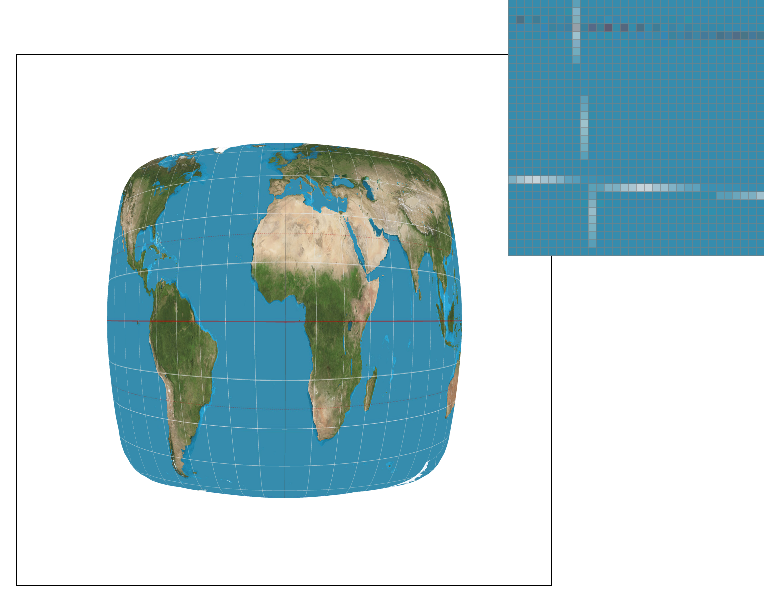
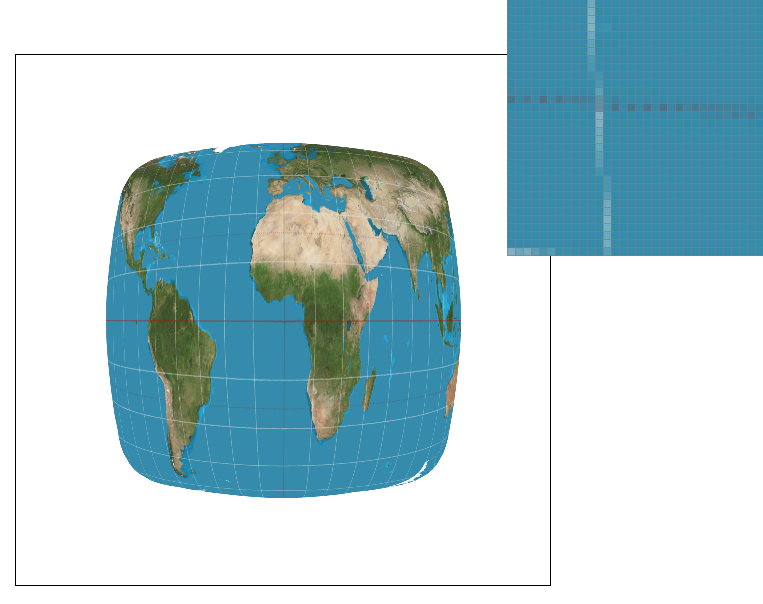
Part 5: "Pixel sampling" for texture mapping
Pixel sampling is a method of applying a given texture to a surface, or rather, the triangles we work with. It consists
of a mapping of "texels" (pixels on our texture) back to the pixels in our image. There are two implementations that we
worked with in this project. The first is nearest-pixel sampling, which simply takes the given uv-coordinates and converts
them into xy coordinates to be pulled from the texture. The second method is bilinear sampling, which takes a weighted sum
of the four texels nearest our coordinate instead of just one. Much like super-sampling, this will create a blur effect that
smooths out the image. The largest difference between the two will occur at areas of high frequency, for example, the edges
of a triangle. Any area where the pixels have the greatest rate of change is an area of high frequency, and as bilinear
sampling computes an average of texels rather than just one.
You can see a noticeable blur especially when zoomed in on the bilinear sampling as compared to nearest pixel sampling

|
|
|
|
Part 6: "Level sampling" with mipmaps for texture mapping
Finally, we have level sampling. Level sampling is another form of anti-aliasing by using different resolutions of the original texture image when we need to use texture minification. These re-sized textures are pre-calculated and stored as an object called a mipmap, and are used to reduce artifacts as well as improve render speed. Compared to just pixel sampling using the original texture, level sampling will always use more memory (4/3 as much), but especially at closer zoom levels, the image quality and speed will always improve over pixel sampling because of the precomputed mipmaps.

|

|
|

|